Hello everyone, sorry for the 3 month break, and I am back with more intstuction and even a few pictures!
Soooo, now I will move on to the actual construction of the boards.
With all the materials gathered its time to get cutting! the first thing i did was draw outlines on the boards of the different features I wanted. Easy as pie.
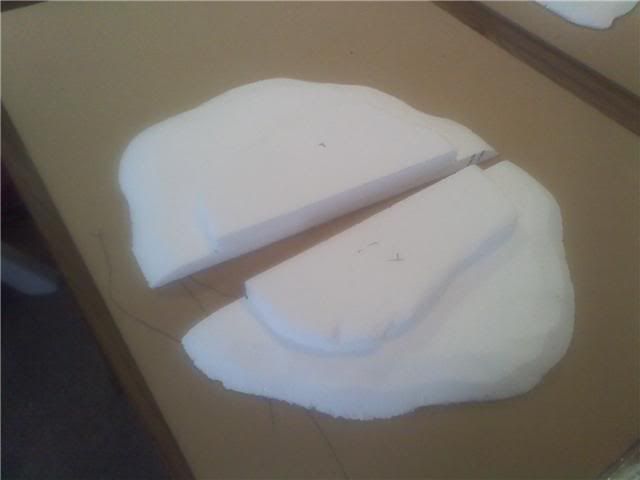
Next drew the outlines onto the foam I would be using and started the fun stuff. After cutting out the basic shape I then started shaping the edge to be a bit more sloped. I did this so give it a more natural look. If you want examples of this look up making hills on-line, there are some really good articles out there.
Next I simply glued them down on the board. It is important to weight them down so they lay flat against the wood. Then you simply let it dry for a good few hours.
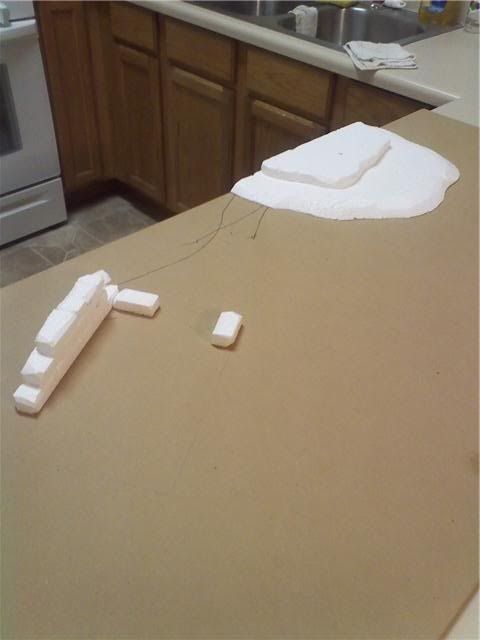
The brick ruins were done by cutting out 1x1x whatever foam lines and then notching them to look like multiple bricks stacked side by side. I also did a few actual 1x1x2 inch bricks to lay around here and there. On a whim I went and cut
a few pop sickle sticks to look like old wood boards and put them within one of the brick structures and then put a few just out in the open for fun.
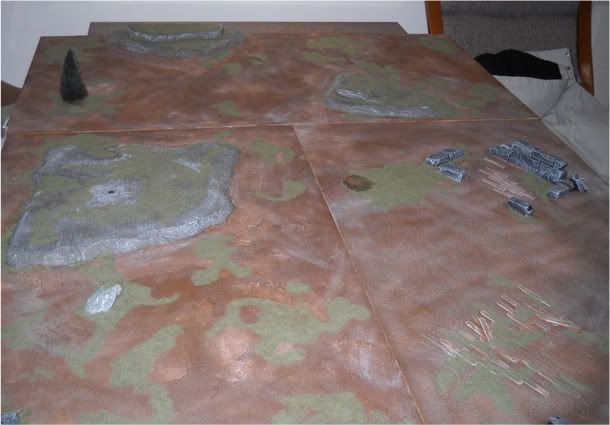
After all the bricks, wood and hills were glued down ( I also put down a tree I found in an old scrap box I had around) I then went and applied spackle to the edges of the hills and around the ground areas to give them some depth. I didn't do as much as I could have. Its really up to you as to how much you want to put down. TIP: after you put the spacle down get a big shoft brush, get it wet, and then lightly brush the spacle to take off any sharp edses or points you don't want.
After everything is dry, and I gave it a good two or three days just to be sure, I then gave all the foam features two layers of glue to protect them from being eaten by spray paint. I intentionally left some of the surfaces on the bricks uncovered so they would look a bit eaten away by weather or whatever. After this I then covered the whole ground area with watered down glue and coated it with small grain sand to give it a texture that could be either grass, dirt or anything else that one could think of.