Thursday, April 1, 2010


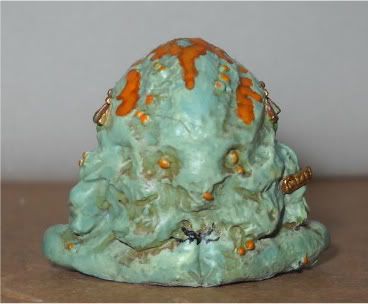
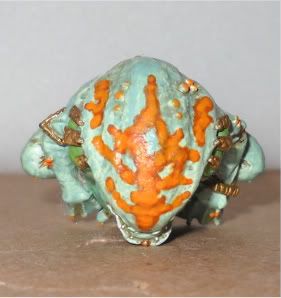
Here is the Slann from the top!


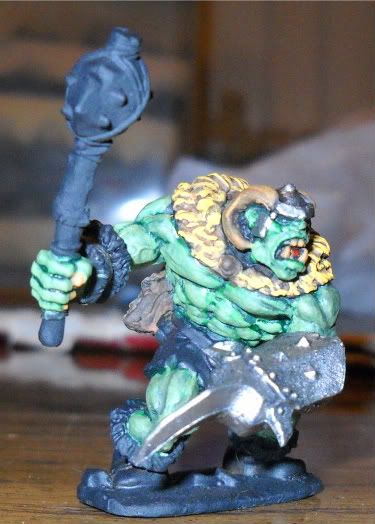
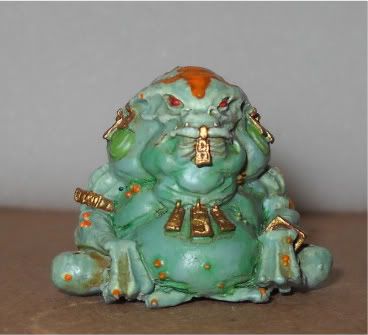
And here are a few more picks of some of the things I have been working on lately

Thursday, March 25, 2010


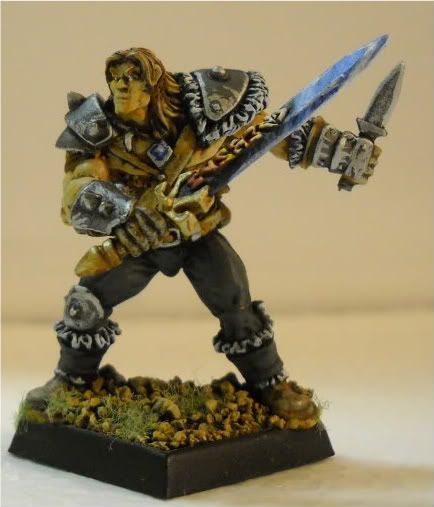
And just for fun I will let all of you lesser men know what a real man who is totally dedicated to the Imperium of man can paint like. Beware of jealousy, for you will never attain this level of perfection.


Hello everyone, sorry for the 3 month break, and I am back with more intstuction and even a few pictures!

Soooo, now I will move on to the actual construction of the boards.

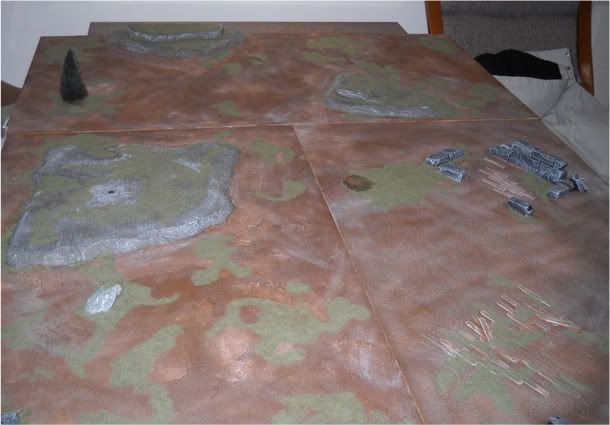
With all the materials gathered its time to get cutting! the first thing i did was draw outlines on the boards of the different features I wanted. Easy as pie.

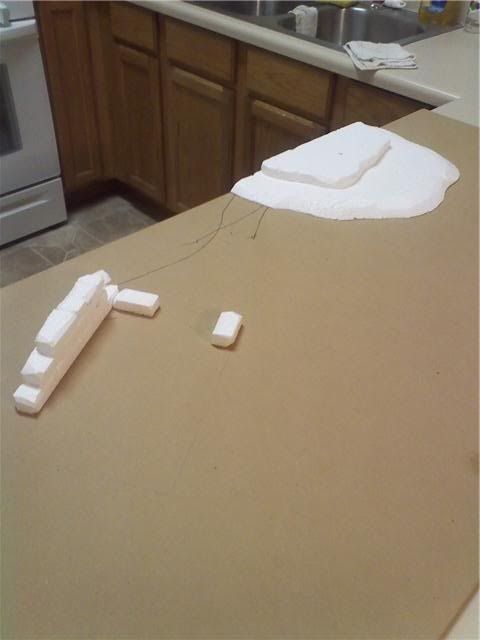
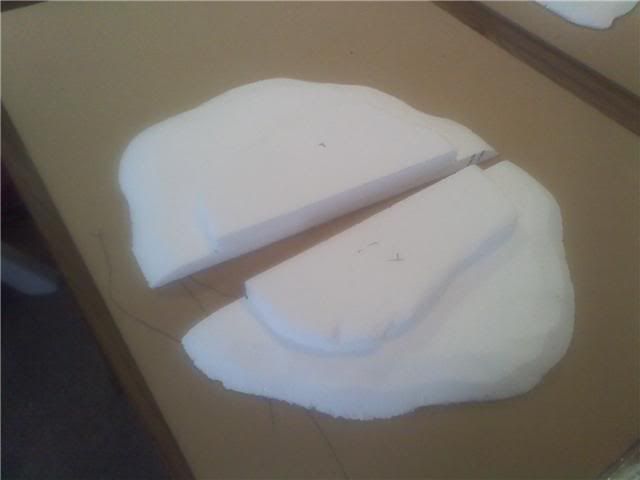
Next drew the outlines onto the foam I would be using and started the fun stuff. After cutting out the basic shape I then started shaping the edge to be a bit more sloped. I did this so give it a more natural look. If you want examples of this look up making hills on-line, there are some really good articles out there.


Next I simply glued them down on the board. It is important to weight them down so they lay flat against the wood. Then you simply let it dry for a good few hours.


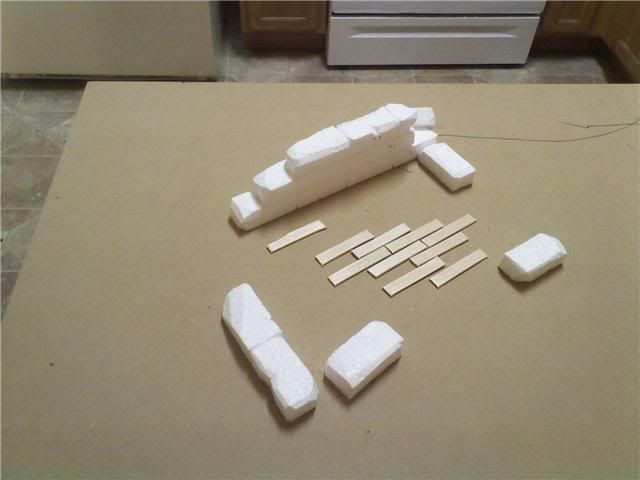
The brick ruins were done by cutting out 1x1x whatever foam lines and then notching them to look like multiple bricks stacked side by side. I also did a few actual 1x1x2 inch bricks to lay around here and there. On a whim I went and cut
a few pop sickle sticks to look like old wood boards and put them within one of the brick structures and then put a few just out in the open for fun.

After all the bricks, wood and hills were glued down ( I also put down a tree I found in an old scrap box I had around) I then went and applied spackle to the edges of the hills and around the ground areas to give them some depth. I didn't do as much as I could have. Its really up to you as to how much you want to put down. TIP: after you put the spacle down get a big shoft brush, get it wet, and then lightly brush the spacle to take off any sharp edses or points you don't want.

After everything is dry, and I gave it a good two or three days just to be sure, I then gave all the foam features two layers of glue to protect them from being eaten by spray paint. I intentionally left some of the surfaces on the bricks uncovered so they would look a bit eaten away by weather or whatever. After this I then covered the whole ground area with watered down glue and coated it with small grain sand to give it a texture that could be either grass, dirt or anything else that one could think of.

Friday, December 18, 2009

New boards

Hello all, if you are the kind of gamer that is all about tactics, the thrill of a Calvary charge and the pride of winning, and could care less about the actual atmosphere of any table top game, this is not the thread for you. If you are, however, one of those boys or girls that likes to play with little armies on a great looking table, this thread is for you. If you don’t like playing table top games, or painting them, or the atmosphere of them… this is not the site for you…

I was browsing the GW site the other day and just for kicks looked up the really cool battle terrain set that they released a while back and was shocked to see that it is a selling for more than its weight in gold, coming in at almost $300.00! So my terrain making cap came out of its box and I decided that I will make my own and see just how much cheaper it can be. I have only just begun this project and due to the rapid money consumption of my wallet will take a few months to complete.

Overall this thread is a step by step guide to how I go about building this kind of board and any impute is welcomed and requested.

1)

First out, you need a vision of what and how the board will look, but before really diving into your artistic side, it is (for me at least) beneficial to come up with how the board will fit together, or if you want it to be one giant piece, like a 4X8 or 4X6 ft table. The GW one is made up by six 2X2 ft squares that are able to be joined together in multiple ways to make quite a few different setups. They really do have a cool board, it’s just not 300 bucks cool.

I had a few ideas as to what I wanted so I pulled out my philosophical ethics notebook and drew up some little squares with hill and the like drawn in them so I could see what kind of combinations I could come up with. For pure combination’s sake the 2X2 tile board is the best, but I then made up some 2X4 tiles and desided this was the way I would build it. While I do not have the overall number of possible combinations that 2X2’s give, I am not too sad about it.

By using 2X4 tiles I need three to make a 4X6 table. So I made a list of supplies and ran the hardware store to see what this thing would cost me. This is my list

Three 2X4 wood boards (when picking a type of board look for the material that is the least likely to warp.) I picked out the 1/4th inch masonite (spell?) as it is unlikely to warp much when wet and somewhat cheap. Cost= $6.00 each

One foam sheet, one inch thick and 2X4 wide. Cost= $3.00

Dry wall putty, one small container (any kind of filler works). Cost=4.00

Glue. Cost =$3.00 (this is an estimation as the amount of glue usually changes from piece to piece)

Sand. Cost= $3.00 (This is what I use for grass and texture; you can use other stuff though, like flock.)

Spray Paint and other paints. (I am going to undercoat the ground and hills brown.) Cost= $10.00

Thursday, July 23, 2009

The Great Devourer!


As I found myself with a rare amount of spare time (ruling the Imperium is no small time consumer) I decided to try some new painting styles and as I have been studying the Tyranids as of late, I decided that the miniature representations deserved to be taken out of their stasis bins and given a new coat of paint. The old style of their painting was similar to that of simply painting them black and then melting red, yellow and green crayons all over them and I must admit (only ever so slightly) that they looked... a bit... under painted and shoddy.

I started out by repriming Tyranid warriors in a color called Almond, although it is more of a simple off or dirty white, and then started to experiment with dipping them in different colors of extremely watered down paint, such as black and different shades of brown. In the end a color of brown was selected to be the dominant color of their cursed and alien hides. The carapace plates were then painted black and then some where highlighted with gray and others where highlighted with green.

The Gene Stealers where not painted with black as I wanted to keep only the larger bugs looking like they were highly armored. I have not decided yet if I want to paint the carapace of the smaller Gaunts or leave them white as I did with the legendary Stealers (if any of you peons dare think of this a mire laziness I will surely find you and teach you the true meaning of the Emperor's wrath! I am only thinking of this as an artistic choice!)

So now I turn to you, my faithful and observant servants. Which color scheme do you think looks better to field on our simulation tables? Remember to calculate this well, for if you fail me you will never be given the ability to fail ever again.

Oh and if you, as a mass of degenerate human bile, ever start to think that it is impossible for one such as I, who am so physically and mentally above you, cannot relate or understand you and your infernal pleas for guidence, just look at some of the data scans I let you behold with your unworthy eyes and remember that even one such as I still eats pizza, a most holy and blessed source of nutrition. Praise be the Emperor for bestowing upon us such a wonderful food.

Your ever just and understanding Up and Coming High Lord Salis.

Friday, July 17, 2009