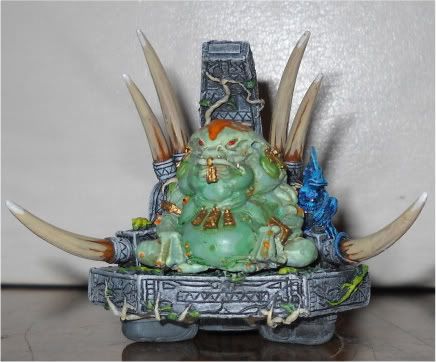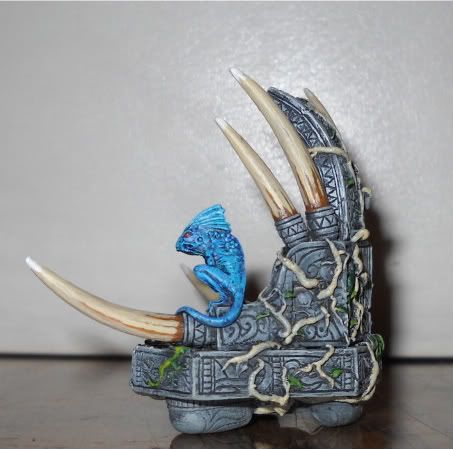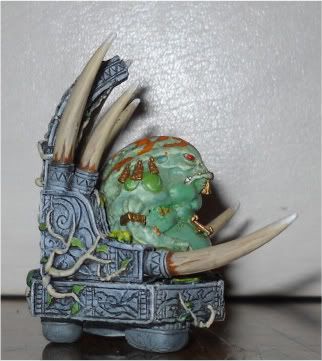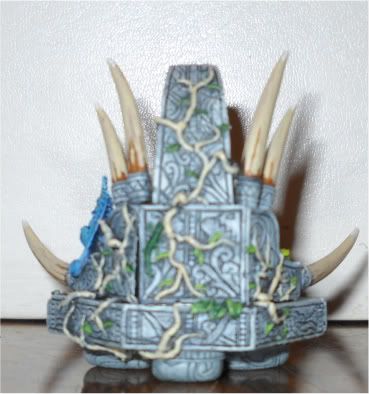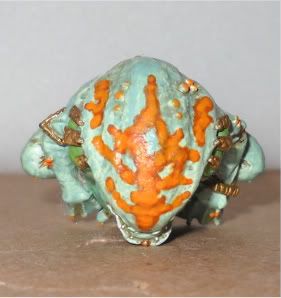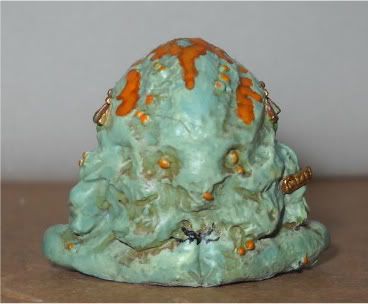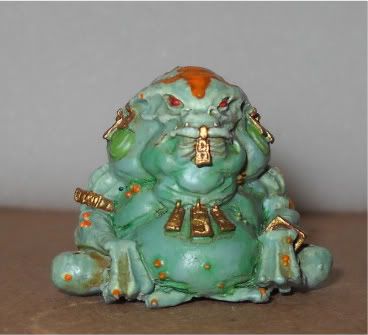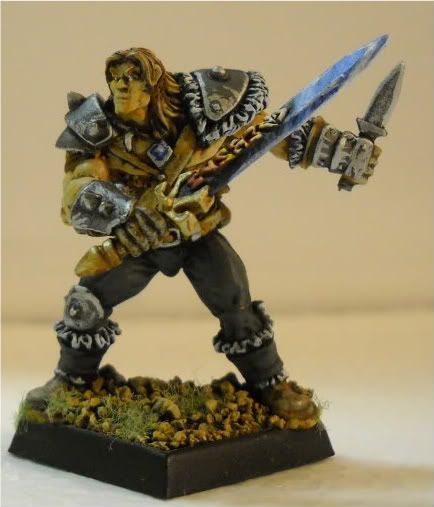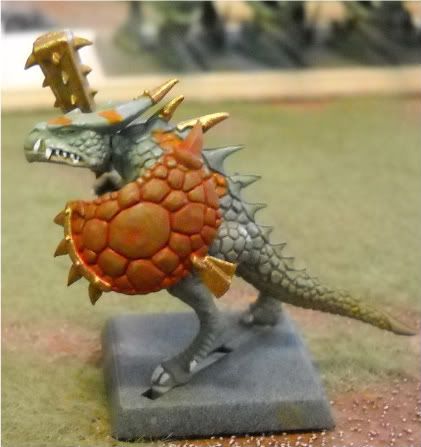
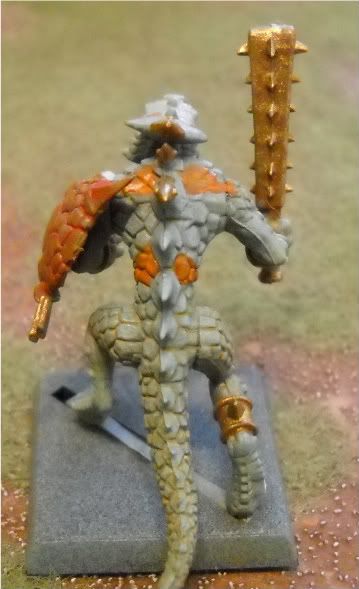
My ever so lucky older brother had the nerve to ask me what the rest of my Lizardmen force looked like so I will, instead of having his left leg burned of, show you the basic colors I have chosen.

Hello all, if you are the kind of gamer that is all about tactics, the thrill of a Calvary charge and the pride of winning, and could care less about the actual atmosphere of any table top game, this is not the thread for you. If you are, however, one of those boys or girls that likes to play with little armies on a great looking table, this thread is for you. If you don’t like playing table top games, or painting them, or the atmosphere of them… this is not the site for you…
I was browsing the GW site the other day and just for kicks looked up the really cool battle terrain set that they released a while back and was shocked to see that it is a selling for more than its weight in gold, coming in at almost $300.00! So my terrain making cap came out of its box and I decided that I will make my own and see just how much cheaper it can be. I have only just begun this project and due to the rapid money consumption of my wallet will take a few months to complete.
Overall this thread is a step by step guide to how I go about building this kind of board and any impute is welcomed and requested.
1)
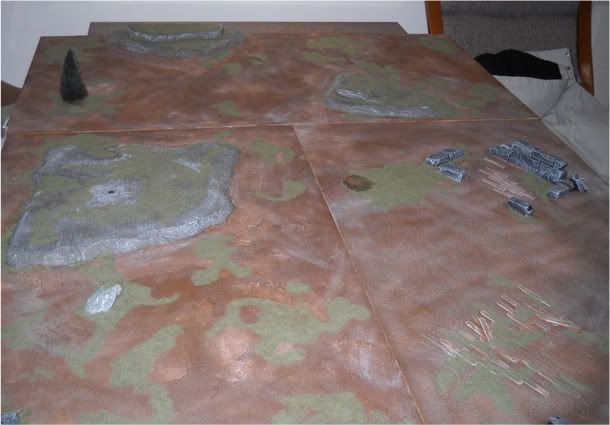
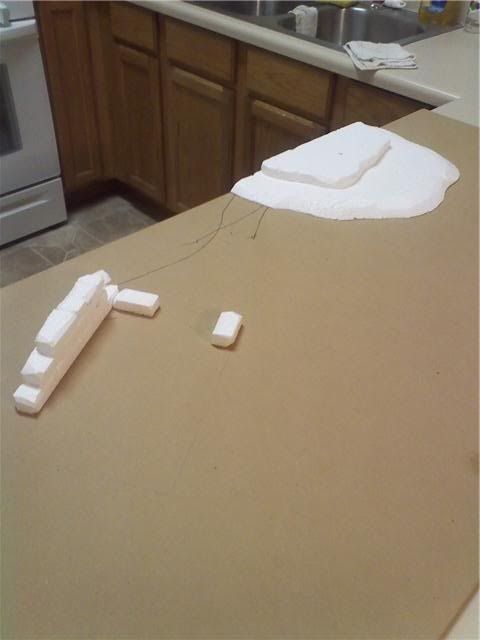
First out, you need a vision of what and how the board will look, but before really diving into your artistic side, it is (for me at least) beneficial to come up with how the board will fit together, or if you want it to be one giant piece, like a 4X8 or 4X6 ft table. The GW one is made up by six 2X2 ft squares that are able to be joined together in multiple ways to make quite a few different setups. They really do have a cool board, it’s just not 300 bucks cool.
I had a few ideas as to what I wanted so I pulled out my philosophical ethics notebook and drew up some little squares with hill and the like drawn in them so I could see what kind of combinations I could come up with. For pure combination’s sake the 2X2 tile board is the best, but I then made up some 2X4 tiles and desided this was the way I would build it. While I do not have the overall number of possible combinations that 2X2’s give, I am not too sad about it.
By using 2X4 tiles I need three to make a 4X6 table. So I made a list of supplies and ran the hardware store to see what this thing would cost me. This is my list
Three 2X4 wood boards (when picking a type of board look for the material that is the least likely to warp.) I picked out the 1/4th inch masonite (spell?) as it is unlikely to warp much when wet and somewhat cheap. Cost= $6.00 each
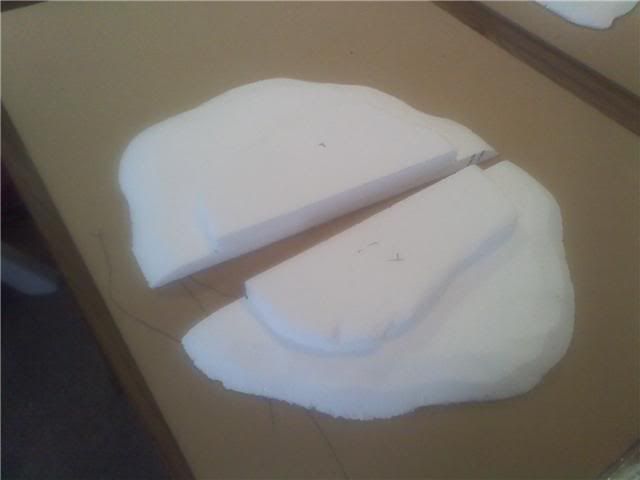
One foam sheet, one inch thick and 2X4 wide. Cost= $3.00
Dry wall putty, one small container (any kind of filler works). Cost=4.00
Glue. Cost =$3.00 (this is an estimation as the amount of glue usually changes from piece to piece)
Sand. Cost= $3.00 (This is what I use for grass and texture; you can use other stuff though, like flock.)
Spray Paint and other paints. (I am going to undercoat the ground and hills brown.) Cost= $10.00